Our Solar System
Interactive Space
Discover our Solar System. In this interactive exhibit, you can get up, close and personal with each celestial body in our star system.
This project uses Processing 3, Arduino, and an Adafruit board to create a touch-to-activate exhibit, where you can touch models of the planets to discover more about them. The models are painted with a conductive paint, that is them covered over in acrylic to make it white. Pins are used to connect them to the Arduino with an Adafruit board. Then, in Processing, the program is coded to make the exhibit functional.
- Programs
- Ardiuno
- Processing 3
- Adafruit Board
- Illustrator
- Photoshop
- Tools
- BARE Conductive Paint
- Acrylic paint
- Foam board
- Smooth foam
About the Project
This Solar System diorama was taken on as a unique, interactive museum exhibit prototype. People, by nature, are extremely tactile and any way that you could touch to learn is seen as a thrill. Being able to explore a model of our Solar System is a fun and beautiful way to learn.

Process

This originally started as another, more rudimentary project for a Creative Code class. I wanted to do something like this since the beginning, but didn't quite have the ability yet. So, what was originally a computer screen-based project became a tactile projection exhibit.
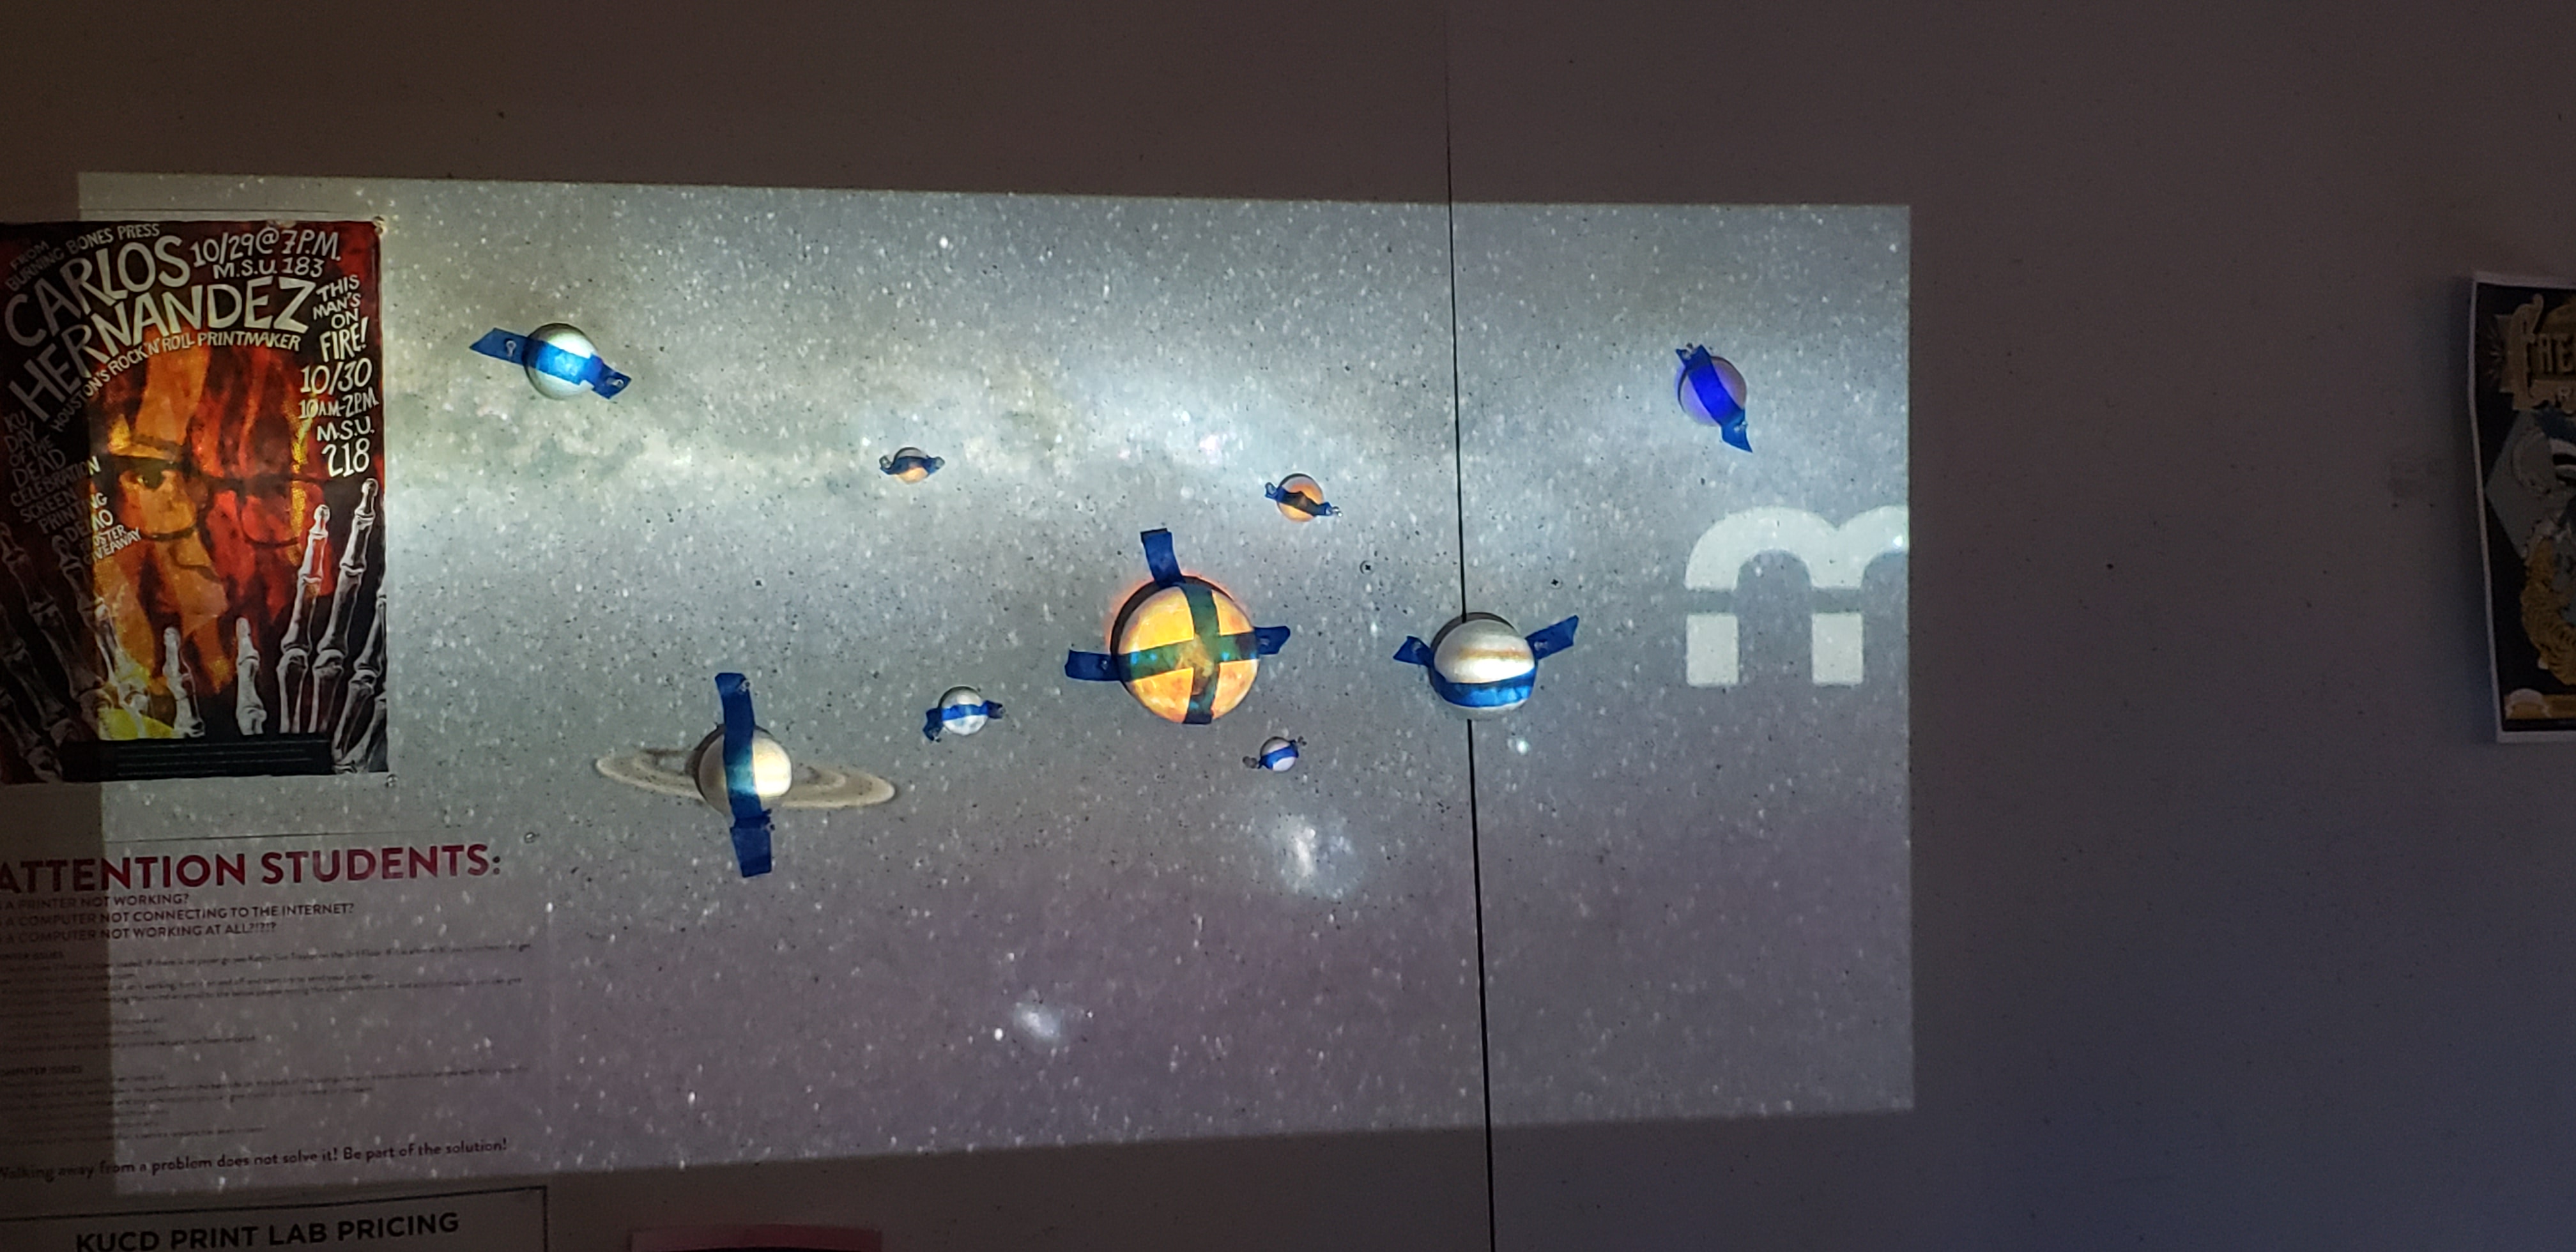
I first needed to mock up where the planets might go and figure out where to project them. Of course, I wouldn't be able to be accurate until the exhibition, but I tried to get close.
I went out and purchased a paint-your-own Solar System from the craft store. The foam balls were the perfect way to display the project. I had plans to fix them to the wall (foolishly thinking they would stay up with nothing but sewing pins), but as you can see to your left, it wouldn't work.
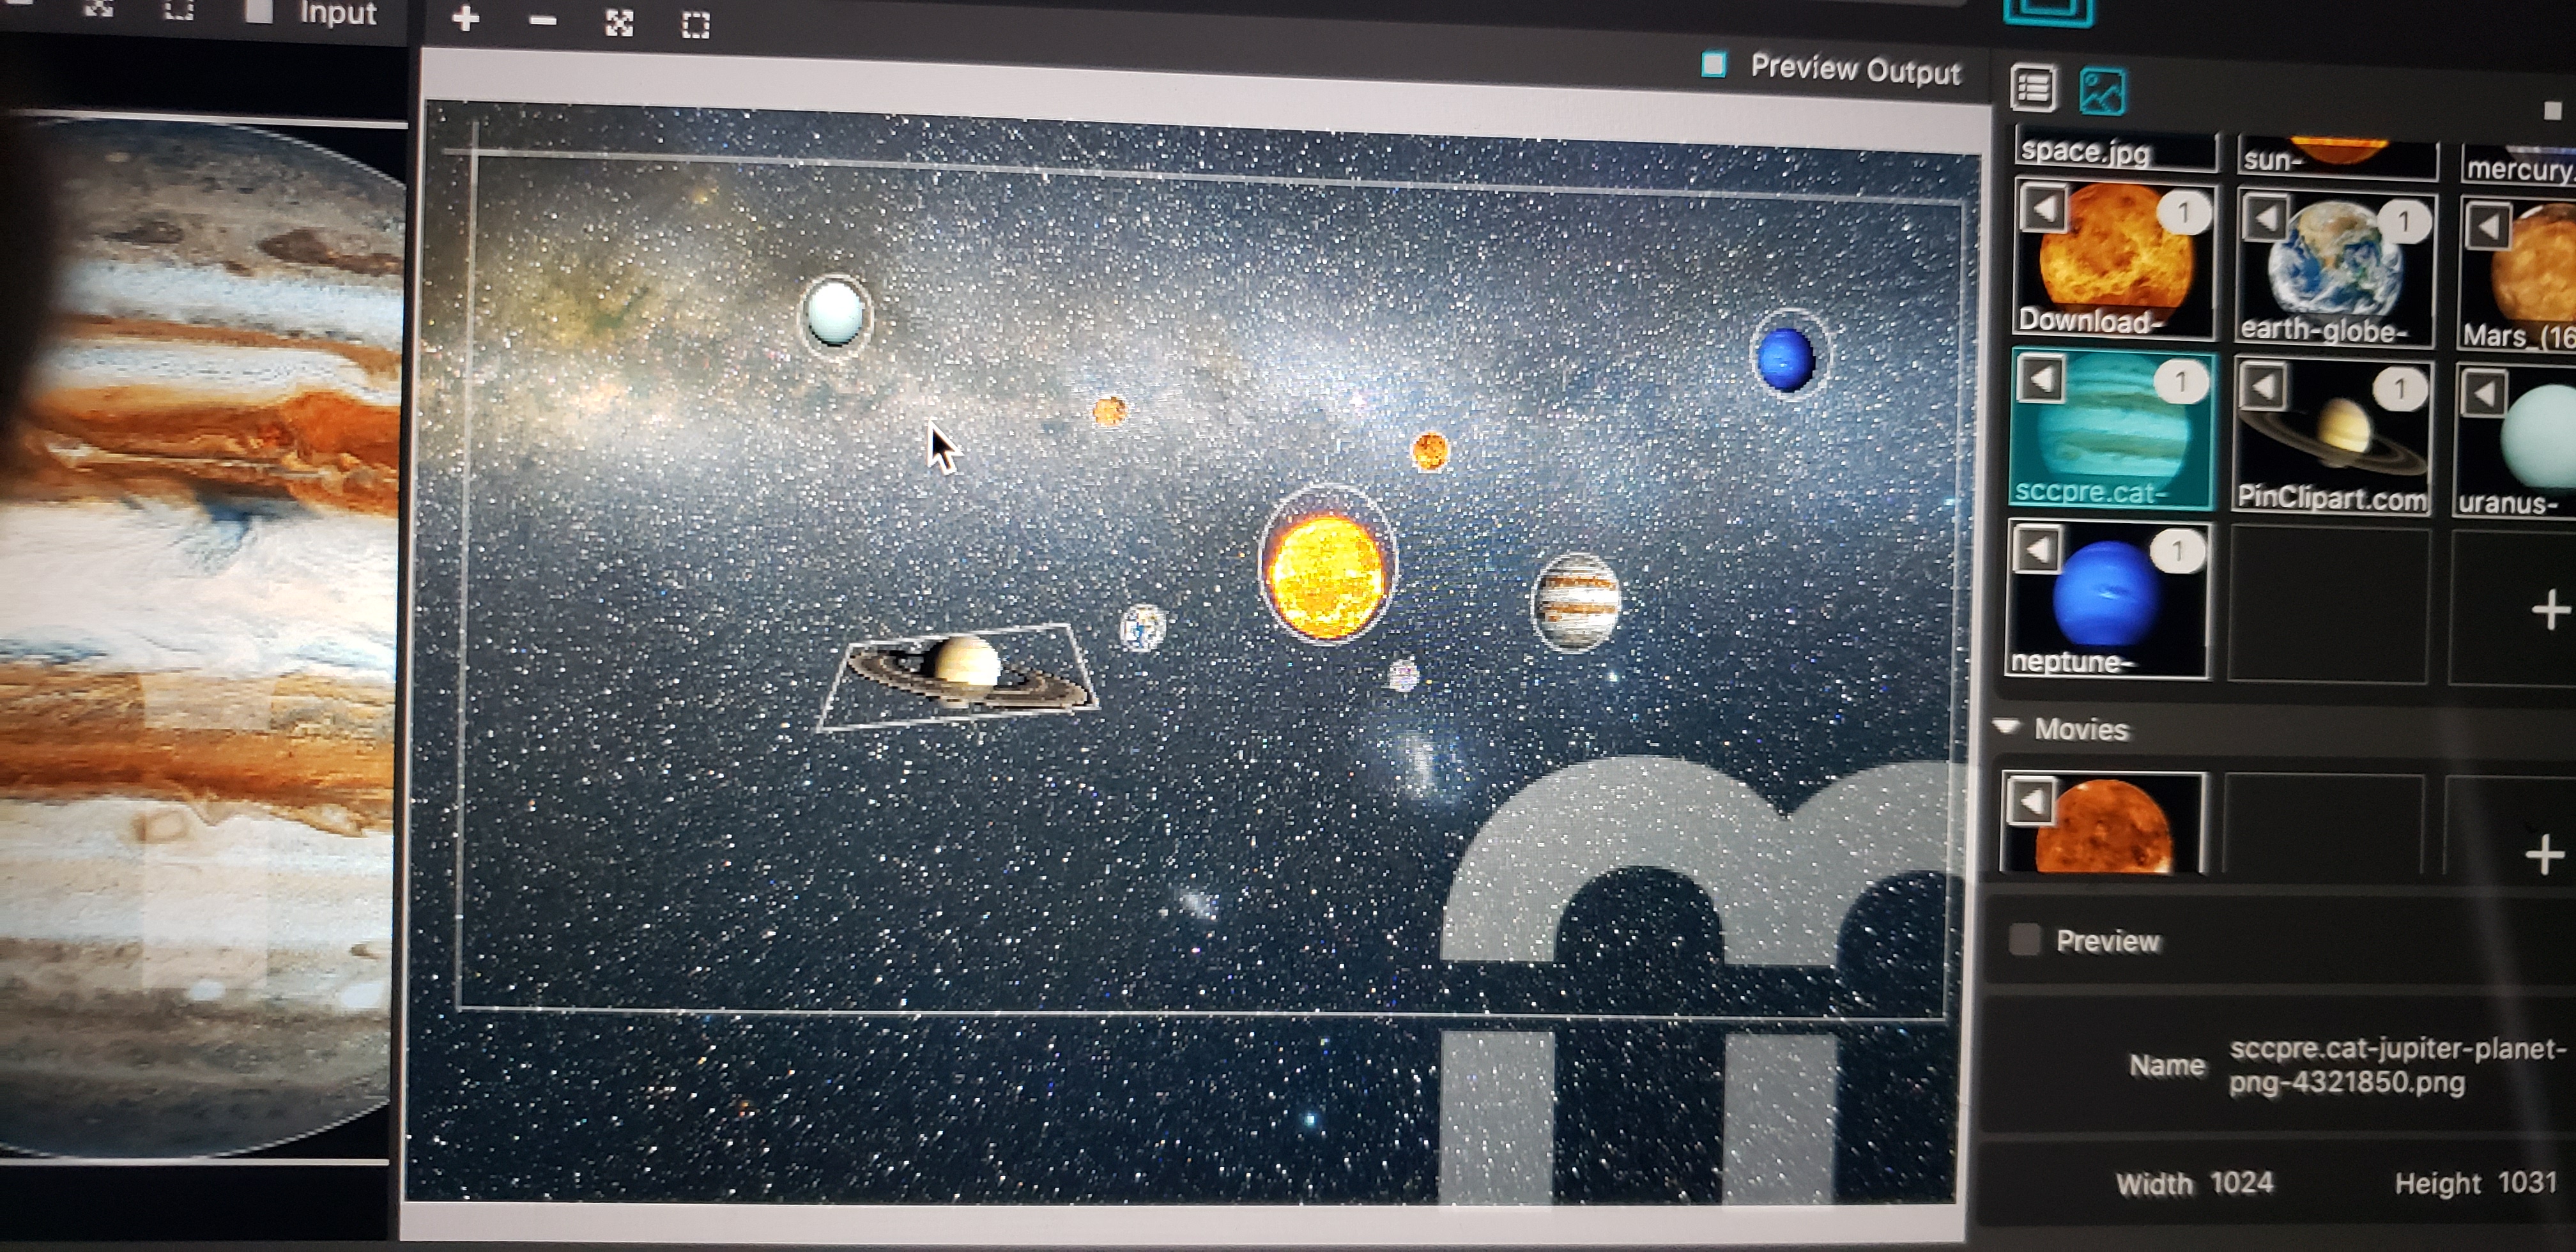
From here, I used some images online of the planets as placeholders until I could create my own assets. I first used Photoshop to see how well it would align with the planets. It did alright, but I still wanted to play with Mad Mapper.
While Mad Mapper looked amazing in comparison, I ended up using Illustrator in the final product.


Next, I had to figure out how to make it work. My first step was to buy some conductive paint for the planets.
While I waited for that to make an appearence, I worked on the code. From here, I used an Arduino with an Adafruit MPR121 board attached to create a touch sensor and make sure it could communicate with Processing 3.
I needed to code together the planets to the proper sensors.
Once I got the Bare Conductive Paint, I got right to work. I found an article online on how to use acrylic paint over the conductive paint, which included a spray sealant. This made me nervous, due to the